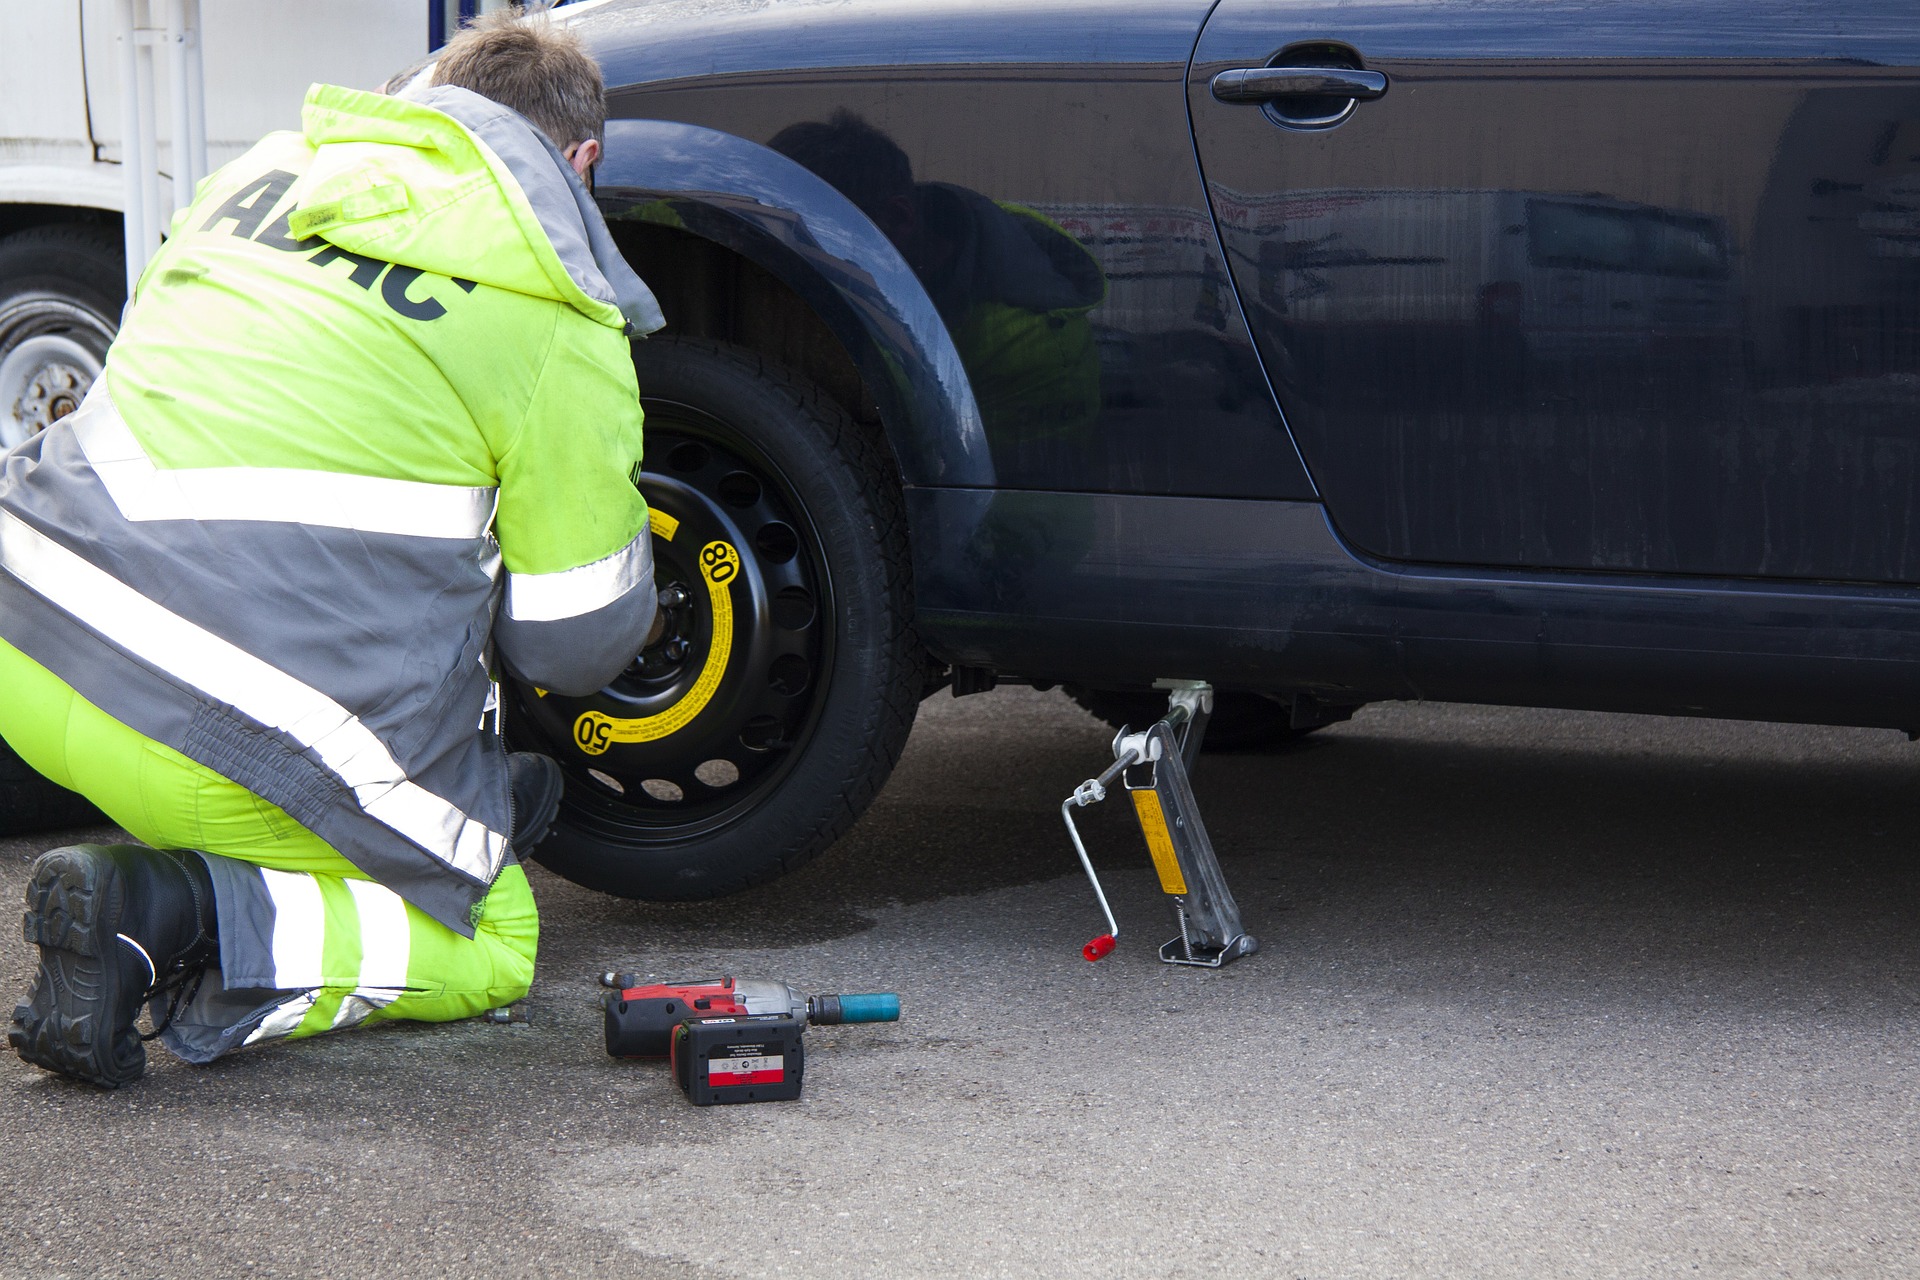
How to change a wheel
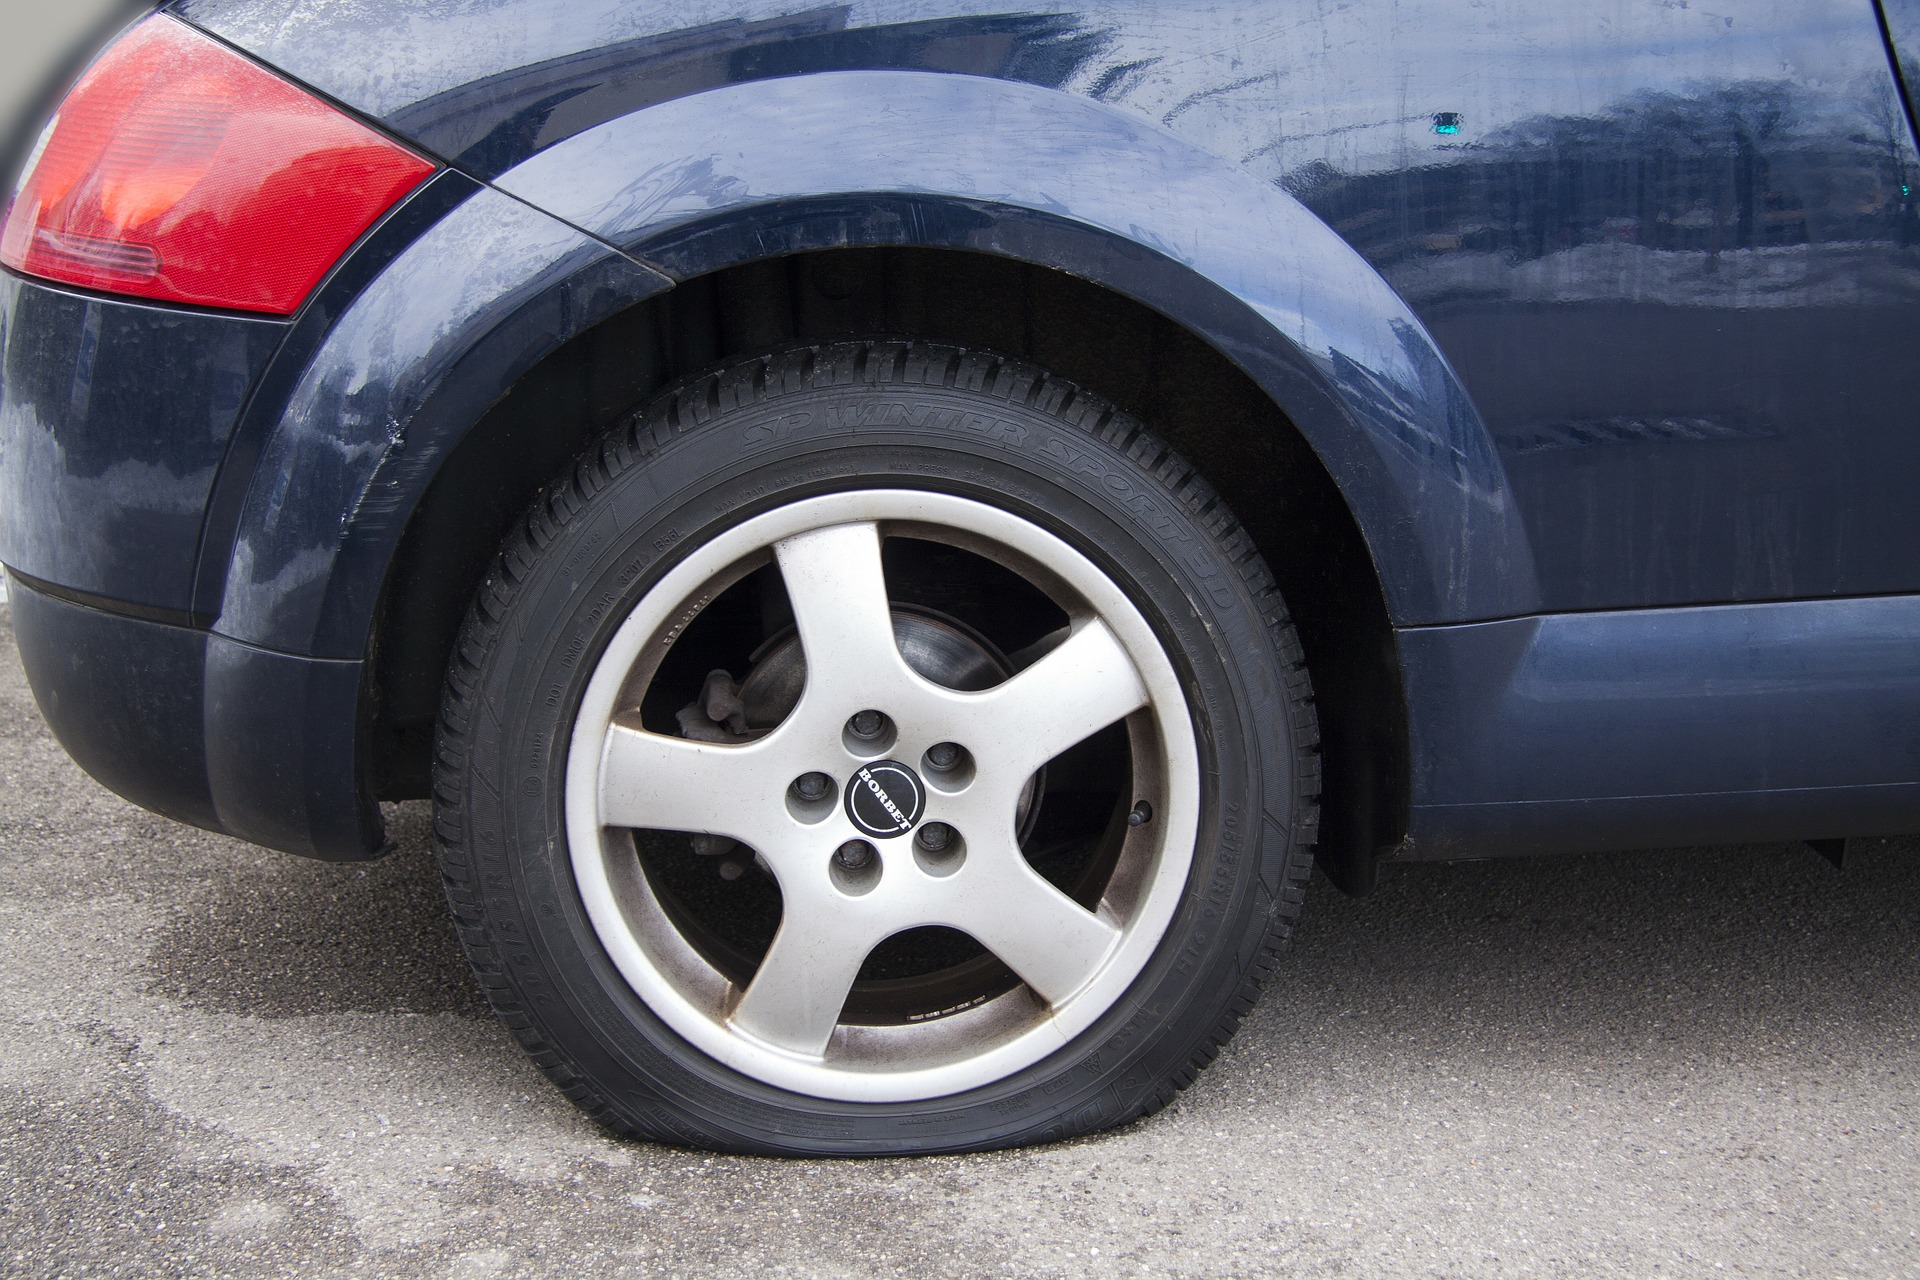
Knowing how to change a wheel on a car is vital – it’s funny how punctures never come at the right time, isn’t it?
Usually, luck would see you fall flat (literally) soon after you’ve bought a brand new set of tyres, packed the car up to go on holiday or are in a rush to get somewhere – or so it seems.
Nonetheless, it’s important to know how to change a wheel so, most importantly, you do it safely, and also so you can get back on your way sooner. As always with our guides and how tos, if you’re not confident in performing any mechanical jobs or repair work, call a professional and wait for help to come.
If you are however, here are the steps you need to follow to know how to change a wheel.
CHECK THE SPARE
Preparing to change a punctured wheel starts well before jacking the car up, even. You need to periodically check your spare wheel to make sure it’s in roadworthy condition and the tyre has the legal minimum of 1.6mm of tread (at the very least) and is correctly inflated.
If you do come a cropper with a puncture and have to put the spare on, it needs to be in good, safe shape, so keep an eye on it every now and then.
JACKING THE CAR
If your car has a spare wheel, it should have a jack. Usually this will be inside the boot, under the boot floor, or underneath the rear of the car. Consult your car’s handbook for the exact location where it’s kept.
In fact, find out where the proper jacking points are from the manual, too, as this will keep things as safe as possible.
Following this, make sure the car is on flat, level and even ground that’s hard enough to withstand the jacking forces. By this we mean tarmac or concrete, not a grassy field.
Jack the car up using the winding handle as smoothly as possible. But remember to loosen the wheel nuts before you lift the car clear of the ground – this way you’ll have some friction to work against. It’s much more difficult when the wheel is spinning in mid air. Even if you do leave the car in gear, it’s still safer to do it on the ground.
Lift the car up further than you need to remove the flat – this deflated tyre will now be smaller in diameter than the spare, which you will put on, so the latter will need more clearance when fitting.
LOOSEN THE WHEEL NUTS
With the wheel nuts loosened, make sure you have the spare tyre to hand so you can complete the switch as soon as possible.
Undo the wheel nuts and remove the punctured tyre and replace with the spare as soon as possible. The weight of even a spare might take you by surprise, so if you can get a second pair of hands to help line the wheel up and hold it steady while you refit the wheel nuts it should be a great help and get the job completed sooner.
FITTING THE SPARE WHEEL
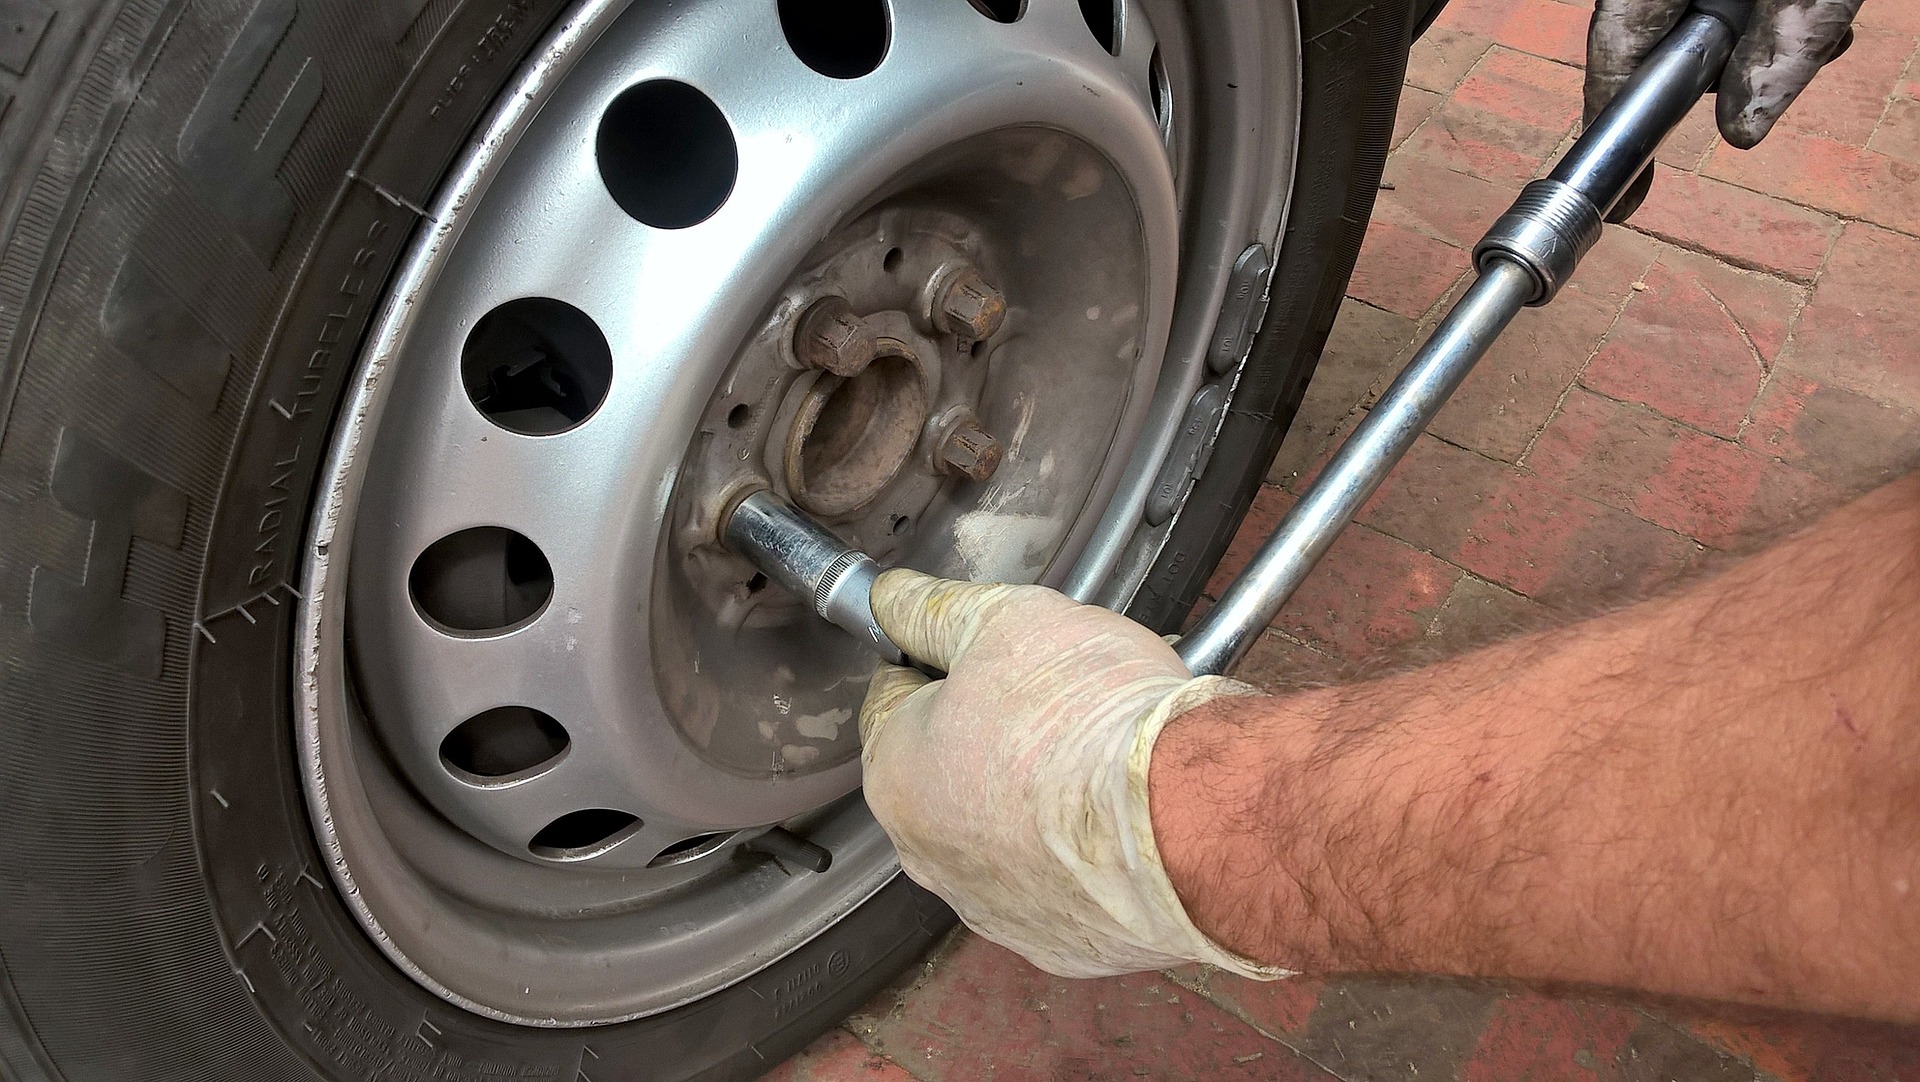
Depending on whether the spare wheel sits on ‘studs’ (protruding threaded bars that the nuts screw on to) or has wheel bolts you screw into the wheel and hub can determine how quick a wheel change you can do.
Generally, it’s easier for one person to change a wheel with studs, as they can rest the wheel on the metal bars as they refit the wheel nuts. Doing it the other way around means you have to hold the wheel in the correct position while you screw the bolts in and can be trickier – hence why it’s easier if you have a second pair of hands.
TIGHTENING THE WHEEL NUTS
Once the wheel is on and fitted, ‘nip’ the wheel nuts up using the wheel brace while the car is off the ground, but down tighten them fully. Unwind the jack until the car is settled on the ground, then tighten the wheel nuts fully.
Remember to do opposite bolts up – i.e. if you have a four-stud pattern, do opposite corner in turn. If you have a five-stud pattern, tighten the nuts up in a star shape to ensure equal torque is applied to the wheel, it is seated properly and not over-stressed.
Make sure you don’t over-tighten the wheel nuts either, as this can stress the alloy wheel and the threads on the studs, leading to damage down the line.
If you have a wheel centre cap, remember to replace this and secure the jack, wheel brace and spare wheel securely. Then you can get on your way again.
As with any job, make sure you work through it logically and methodically and keep safety paramount in the process. That way, you won’t have to do anything twice, slowing you down in the long run.
We want to know if you’ve ever had to change a wheel by the side of the road? Maybe you’ve got some top tips you’d like to share with us. Leave a comment on our twitter feed or on our Facebook page.
Similar Articles
Car Service Plans: Everything You Need to Know
In this guide we’ll cover what a car service plan is and how it works, what the benefits of using a car service plan are, before looking at the car service plans we offer at T W White & Sons.
MyMazda App Guide
In this guide, we’ll cover how to get started, the standard features available across all models, and the connected vehicle and connected electric vehicle features available on compatible models.
Automotive Glossary: Complete List of Car Terms Explained
Confused by car terminology? Explore our A-Z automotive glossary for clear explanations of the most common UK motoring terms. We’ve created this glossary to help you understand the terms you’ll come across when browsing car listings, comparing finance options, or learning more about your vehicle’s features. Read on for your guide to the words and […]